
[技术分享] Opencode harness使用分享
使用感言
本人使用 OpenCode 进行 AI 辅助开发近 4 个月,觉得非常好用,于是作此分享。
先说说我都给 OpenCode 加装了什么吧:
- OpenCode 本体 —— 开源终端 AI 编程代理
- OpenChamber VSCode 扩展 —— 给 OpenCode 加上桌面 / 网页 / 编辑器多端界面
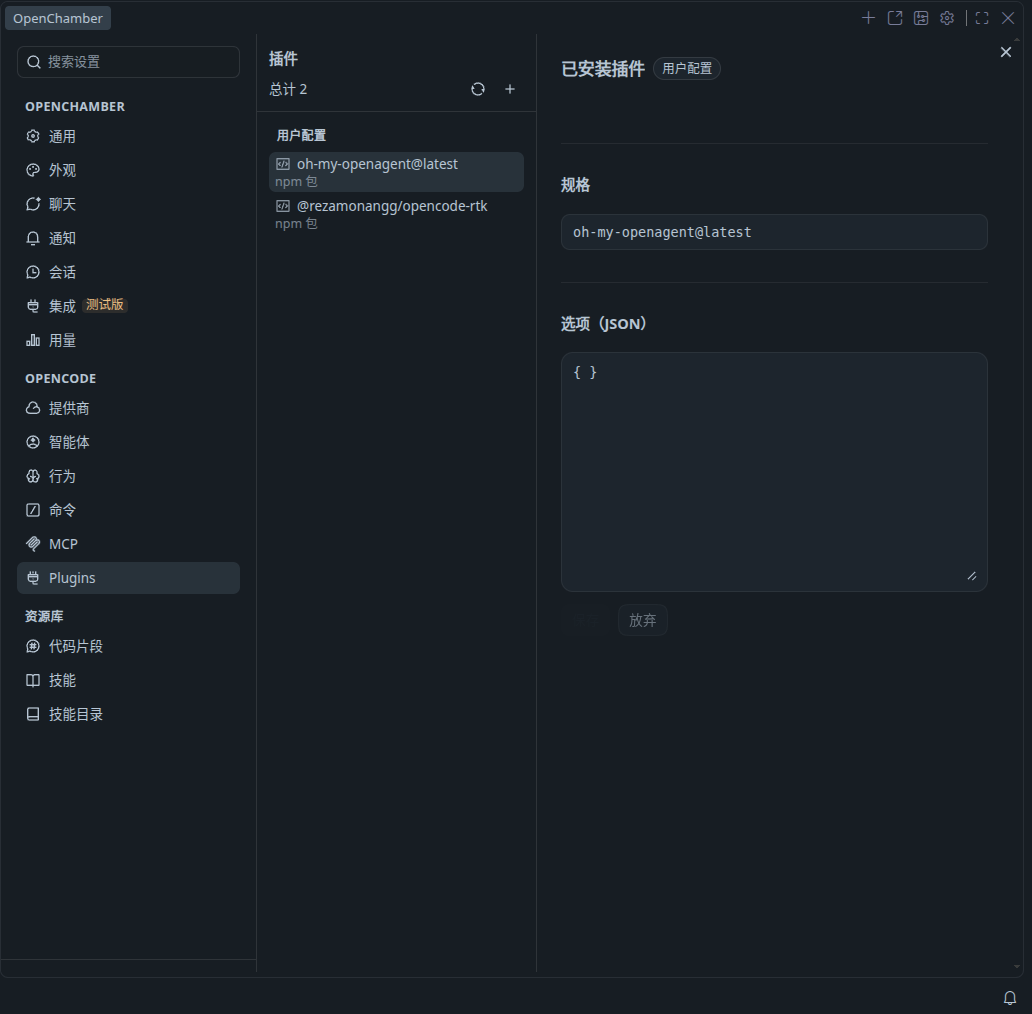
- OhMyOpencode(现名 oh-my-openagent)—— OpenCode 大整合插件,开箱即用的智能体编排(后台并行 Agent、LSP/AST 工具、Claude Code 兼容层)
- Opencode-rtk —— 压缩 terminal 输出插件,依赖 RTK,日常命令可省 60%~90% token
- 一些 skills
快速安装
OpenCode:
推荐通过 npm 全局安装(需先安装 Node.js >= 20.19,也是我当前用的方式):
1 | npm install -g opencode-ai |
官方也提供免 Node 的安装脚本:
curl -fsSL https://opencode.ai/install | bash,按需二选一即可。
OpenChamber:
直接在 VSCode 搜索并安装扩展「OpenChamber」,也可在 VS Code Marketplace 找到。
OhMyOpencode(现名 oh-my-openagent):
插件本体通过 npm 安装,再把它加进 opencode 的插件配置:
1 | npm install -g oh-my-openagent |
然后在 ~/.config/opencode/opencode.jsonc(或 opencode.json)里启用:
1 | { |
Opencode-rtk:
以我使用的 @rezamonangg/opencode-rtk 为例,先装好 RTK 二进制并放进 PATH,再把插件加进配置:
1 | # 1. 安装 RTK 二进制(Linux/macOS) |
1 | // ~/.config/opencode/opencode.jsonc |
最后在 ~/.config/opencode/ 下安装插件依赖(npm 方式):
1 | cd ~/.config/opencode |
阅读文档
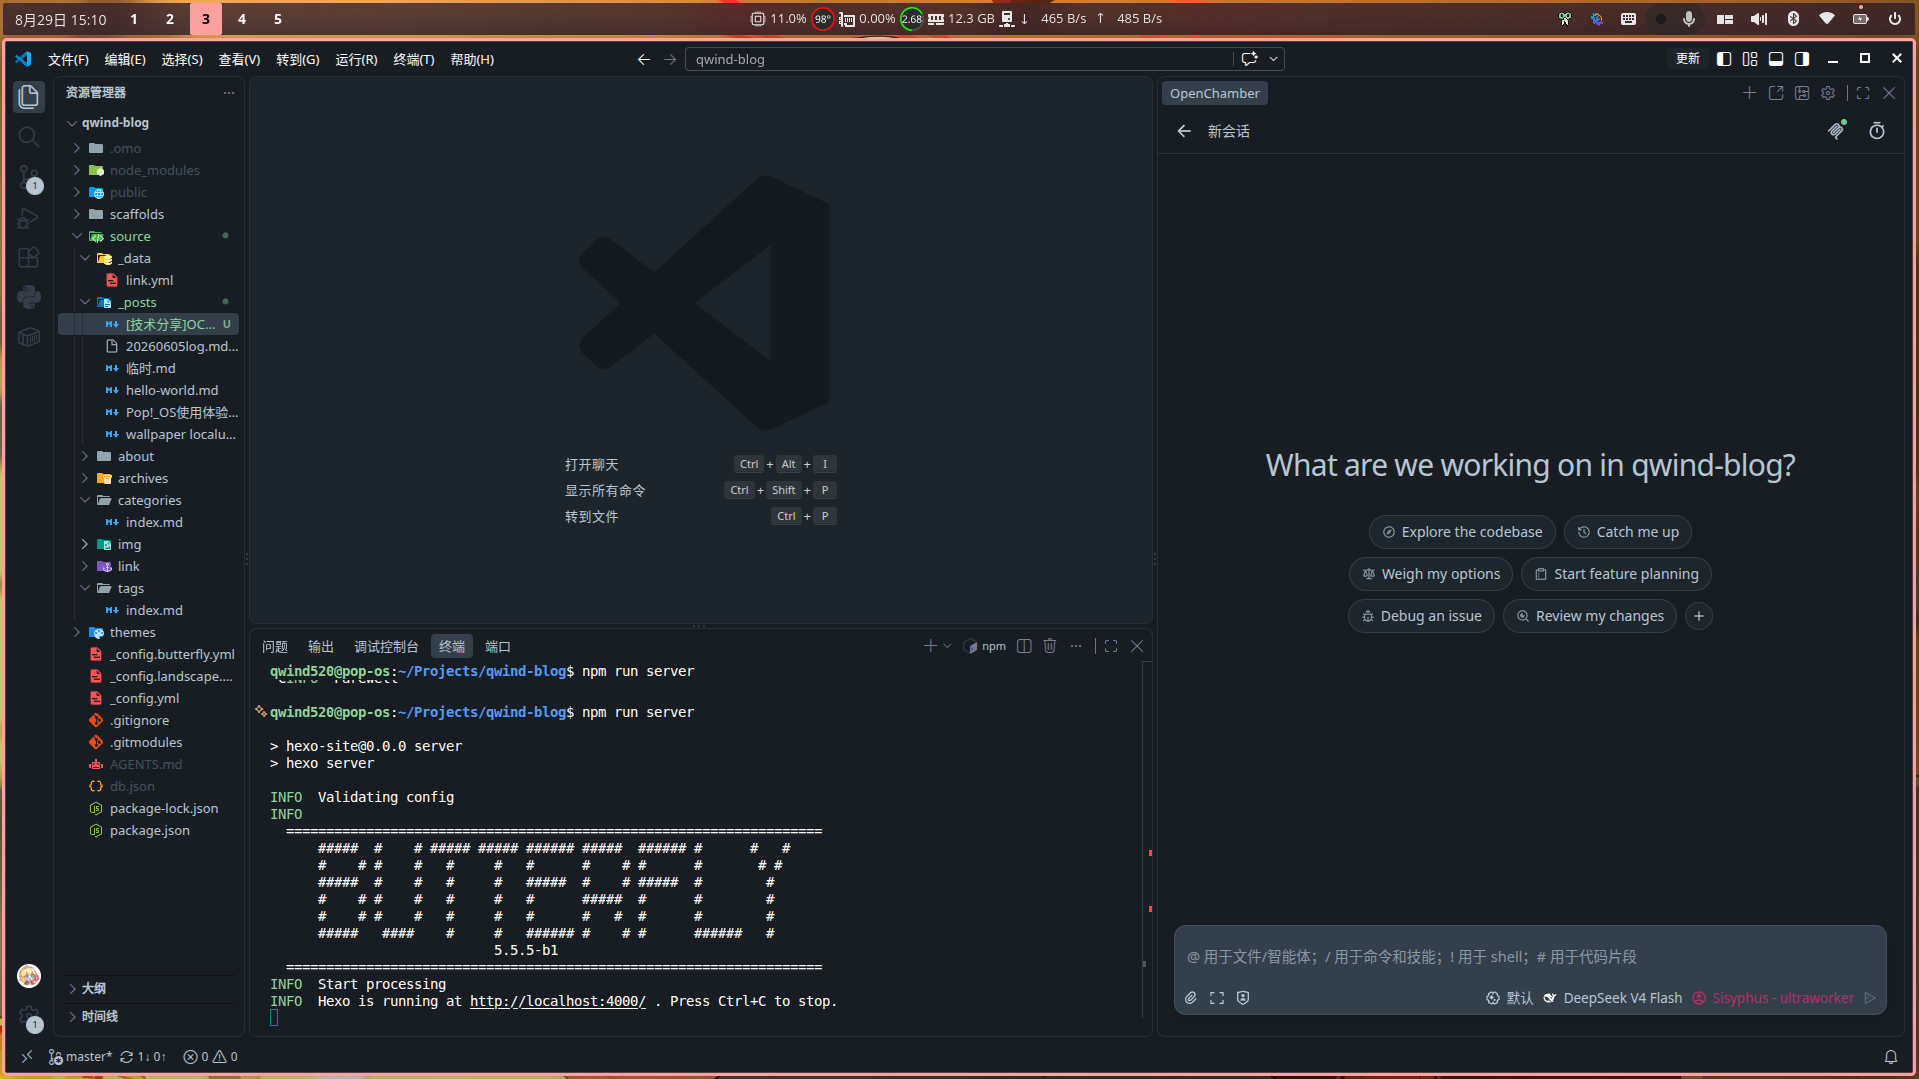
使用截图
本博客所有文章除特别声明外,均采用 CC BY-NC-SA 4.0 许可协议。转载请注明来源 温水档案!
相关推荐

2026-09-23
用OpenCode做office作业的记录

2026-09-03
Pop!_OS安装后? 体验优化和软件推荐、安装
这篇文章致力于提高 Pop!_OS 的使用体验。 必要配置为提高配置效率,我会尽可能给出bash命令。 APT 换源Pop!_OS 自己的源保持官方,仅把 Ubuntu 基础源换成中科大: 1234# 只改 system.sources 里的 Ubuntu 镜像地址,Pop 自己的两个源不动sudo sed -i 's@//apt.pop-os.org/ubuntu@//mirrors.ustc.edu.cn/ubuntu@g' \ /etc/apt/sources.list.d/system.sourcessudo apt update Flatpak 换源12# 切换下载地址到镜像sudo flatpak remote-modify flathub --url=https://mirrors.ustc.edu.cn/flathub 智能缓存模式,未命中回源,flatpak update 可验证是否生效。 COSMIC 设置(可选)你当然可以把 COSMIC设置 完完整整浏览并设置一遍,这很好,我这里列几个显著提高体验的配置,包括一些GUI不包含的...
评论